Filtering vacancies
Jump to navigation
Jump to search
To filter vacancies:
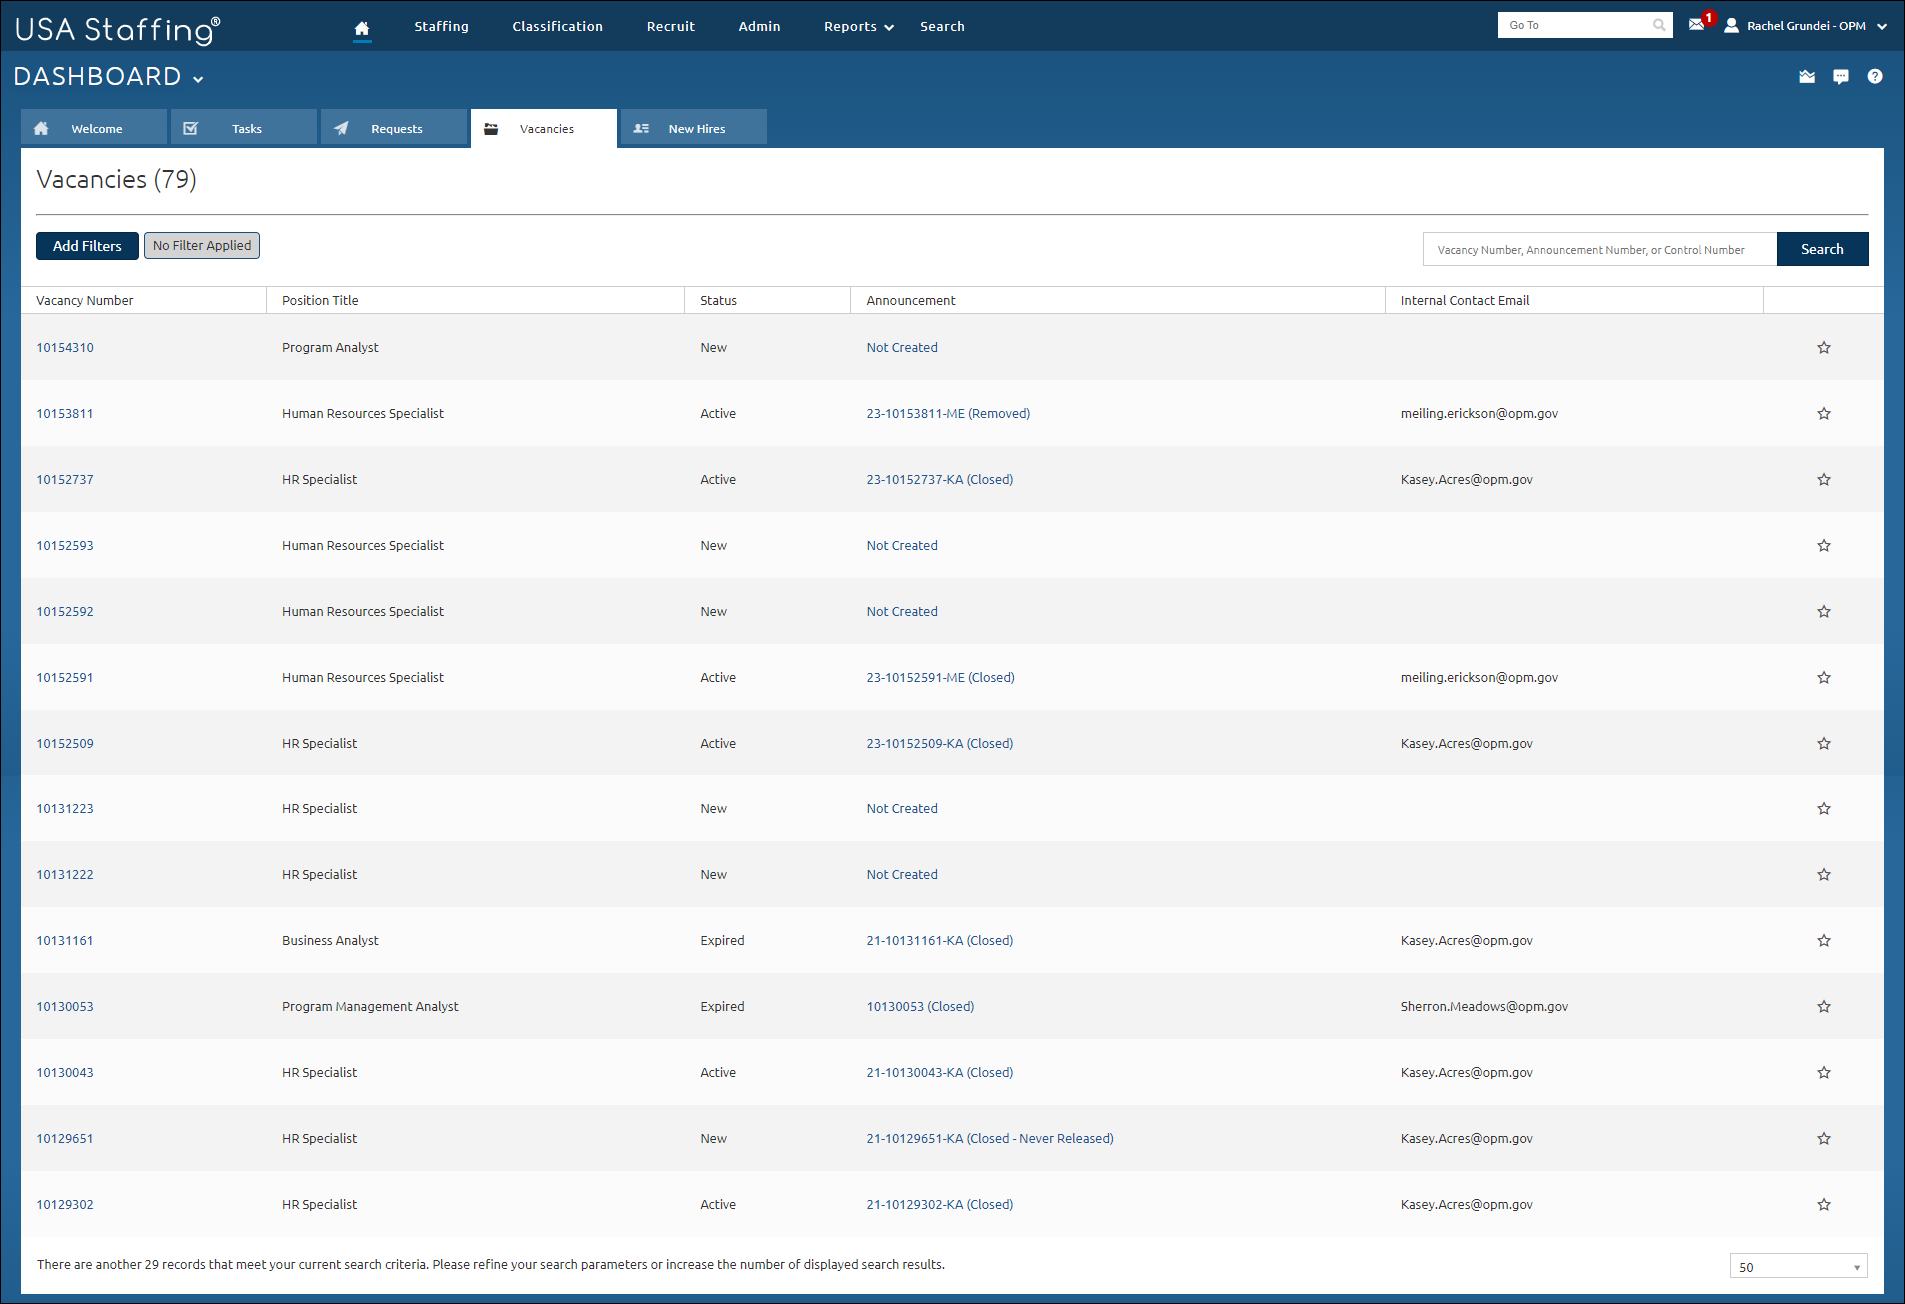
- Click the Vacancies tab on the Dashboard.
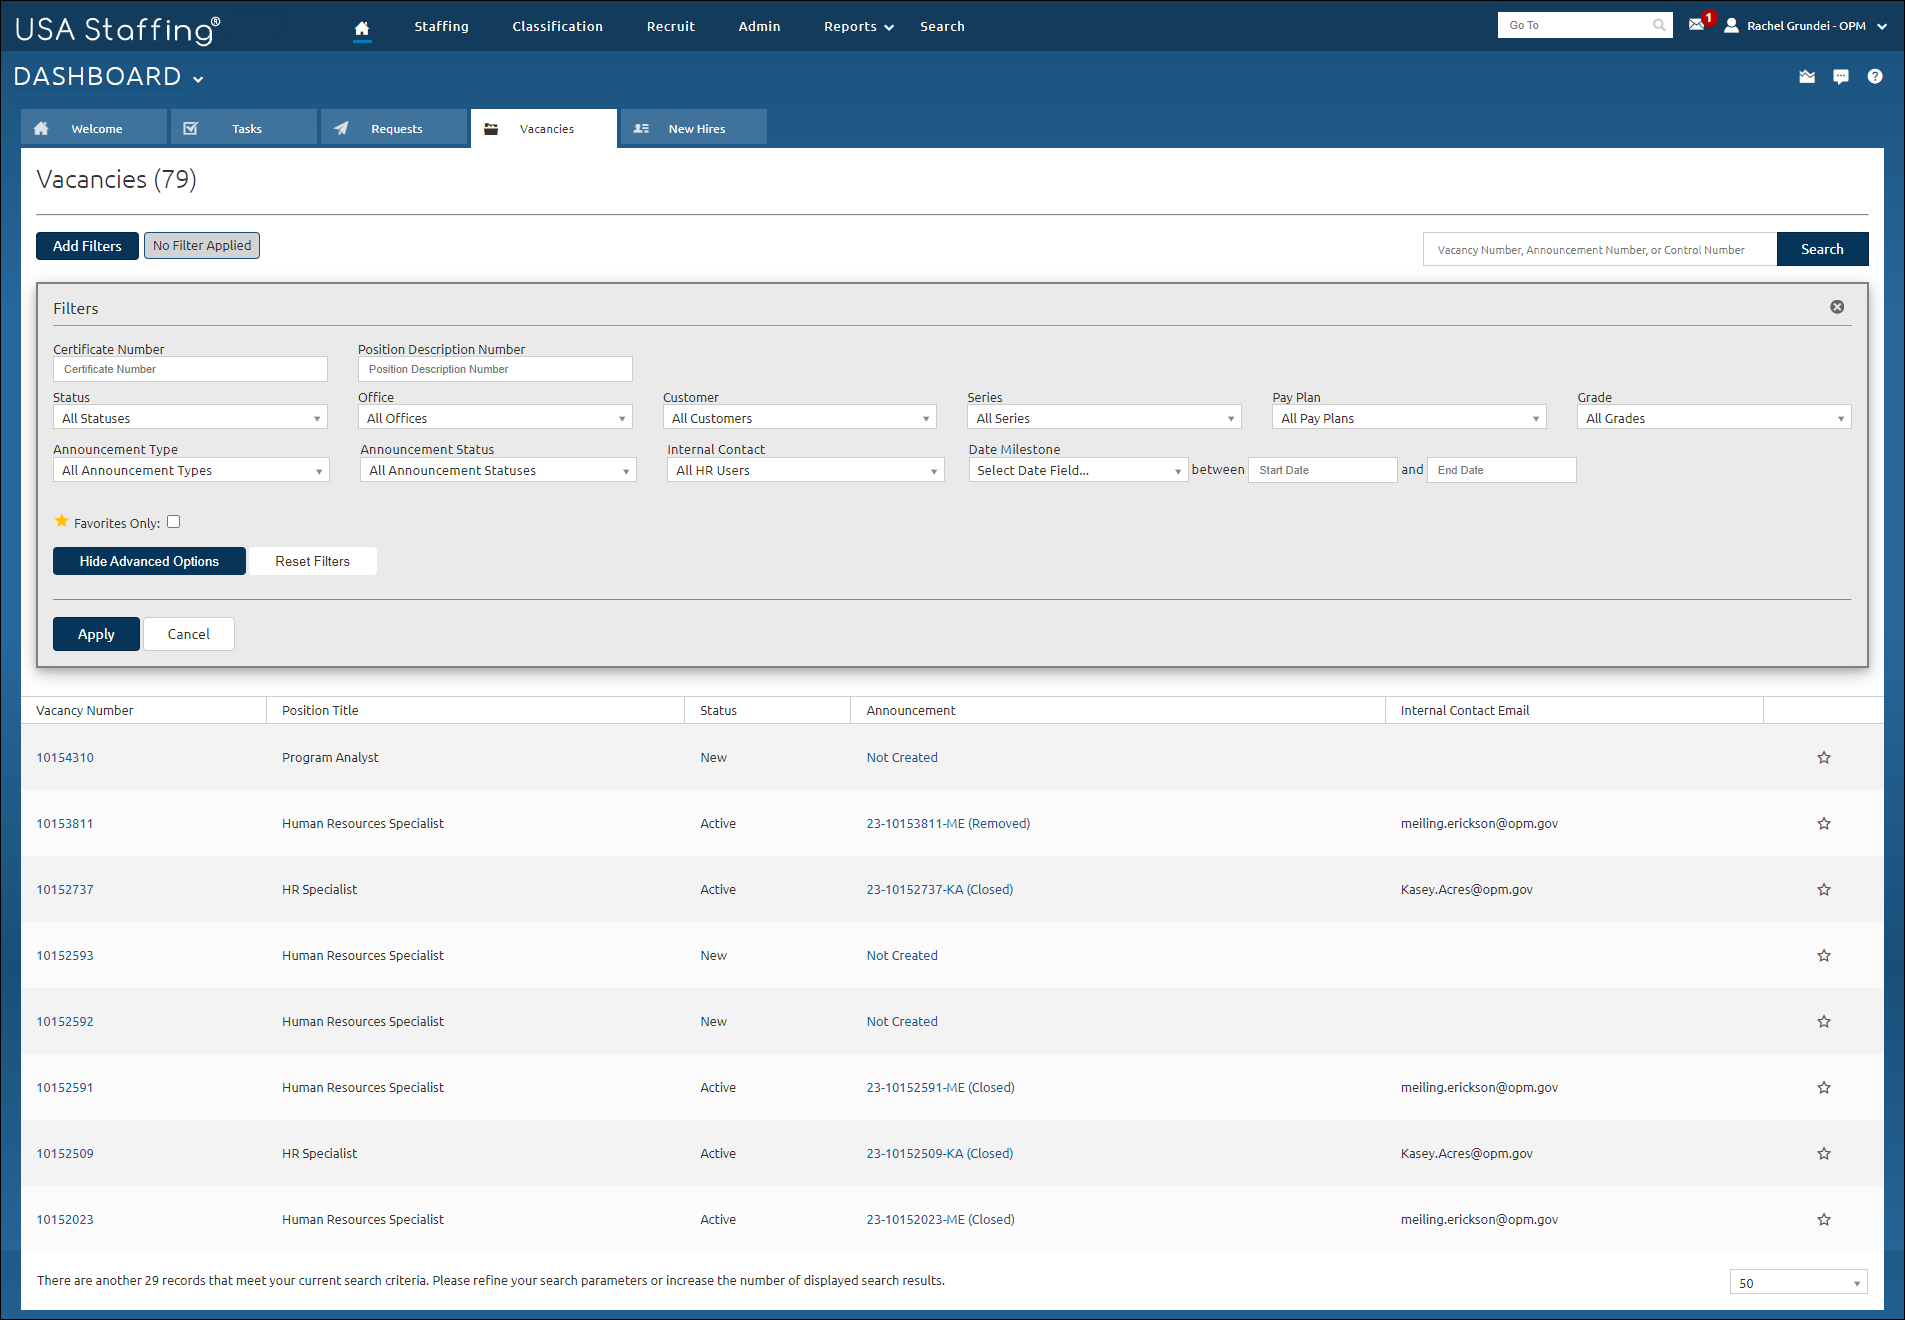
- Click Add Filters or Modify Filters, as appropriate.
- Click Show Advanced Options, if applicable.
- Enter a Certificate Number, if applicable.
- Enter a Position Description Number, if applicable.
- Select a Status from the drop-down list, if applicable.
- Select an Office from the drop-down list, if applicable.
- Select a Customer from the drop-down list, if applicable.
- Select a series from Series drop-down list to filter vacancies for a specific series.
- Select a pay plan from Pay Plan drop-down list to filter vacancies for a specific pay plan.
- Select a grade from the Grade drop-down list to filter vacancies for a specific grade.
- Select an announcement type from the Announcement Type drop-down list, if applicable.
- Select an announcement status from the Announcement Status drop-down list, if applicable.
- Select a name from the Internal Contact drop-down list, if applicable.
- Select a date field from the Date Milestone drop-down list, if applicable.
- Enter a Start Date, if applicable.
- Enter an End Date, if applicable.
- Place a check in the Favorites Only check box to filter requests marked as favorites.
- Click Hide Advanced Options to collapse the advanced options.
- Click Reset Options to remove any selected filters.
- Click Apply to apply the selected filters.